In our previous post, we introduced Metalsmith as a stable, flexible static site generator that's perfect for building blogs, portfolios, and simple marketing sites. Now it's time to set up our first Metalsmith project.
Don't worry if you're new to static site generators or even to web development in general. I've designed this guide to be straightforward and approachable. Let's get started!
What You'll Need
Before we begin, make sure you have these basics installed on your computer:
- Node.js (version 18.0.0 or higher)
- Git (for downloading the starter project)
- A code editor ( my favorite is VSCode)
That's it! You don't need to understand complex build tools or framework-specific concepts. You're ready to go if you can open a terminal and run basic commands.
What you should be familiar with
This guide assumes you have:
- Basic knowledge of HTML and CSS
- Some familiarity with Markdown (but even if you don't know it, you'll pick it up quickly)
- Comfort with using the command line for simple operations
You don't need to be a JavaScript expert or have previous experience with static site generators.
Step 1: Clone the Starter Repository
Let's begin by downloading the Metalsmith2025 Simple Starter. Open your terminal and run:
git clone https://github.com/wernerglinka/metalsmith2025-simple-starter.git my-website
This creates a new folder called my-website containing all the files you need to get started. Feel free to rename this to whatever you'd like your project to be called.
Step 2: Navigate to Your New Project
Enter your new project directory:
cd my-website
Take a moment to look around if you'd like. The src folder contains your content files, while lib contains layouts and assets. Don't worry about understanding everything just yet - we'll explore the structure in more detail in a future post.
Step 3: Install Dependencies
Now, let's install the necessary packages:
npm install
This might take a minute, as it downloads all the dependencies Metalsmith needs to build your site. You'll only need to do this once when you first set up the project.
Step 4: Start the Development Server
Once the installation is complete, start the development server:
npm start
This does two important things:
- It builds your website from the source files
- It starts a local development server so you can view your site
You should see some messages in your terminal showing the build process, and at the end, you'll see something like this:
Build success in 4.2s
[Browsersync] Access URLs:
--------------------------------------
      Local: http://localhost:3000
    External: http://192.168.1.130:3000
--------------------------------------
          UI: http://localhost:3001
UI External: http://192.168.1.130:3001
--------------------------------------
[Browsersync] Serving files from: ./build
Step 5: See Your Site in Action
Open your web browser and go to: http://localhost:3000
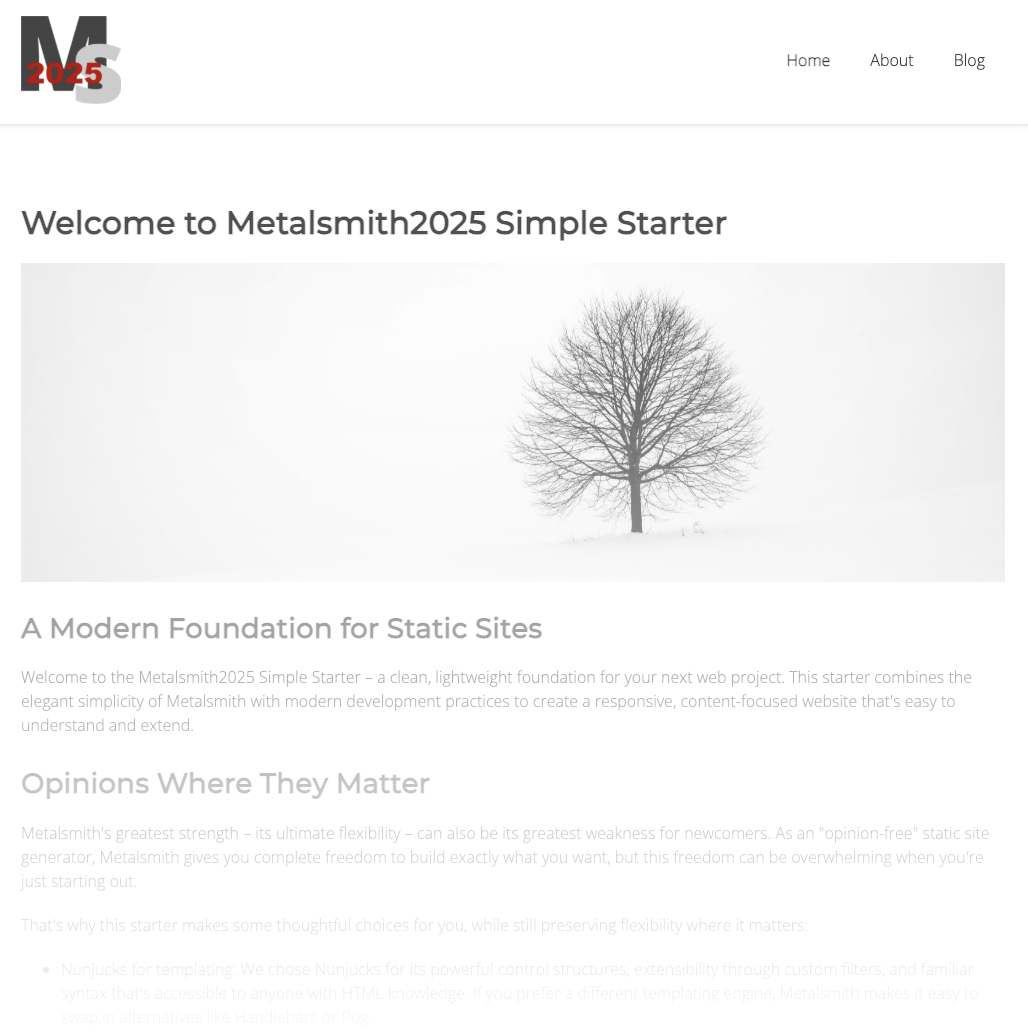
And there it is! Your Metalsmith site is up and running. You should see a simple homepage with a welcome message and a link to the About page.
Making Your First Change
Let's make a small change to see how Metalsmith works. Open the file src/index.md using your favorite text editor and find the title in the content section (below the frontmatter).
---
layout: simple.njk
bodyClass: "home"

navigation:
  navLabel: 'Home'
  navIndex: 0

seo:
  title: Metalsmith Blog Starter
  description: "A blog starter build with Metalsmith"
  socialImage: "/assets/images/metalsmith-starter-social.png"
  canonicalOverwrite: ""
---
# Welcome to Metalsmith2025 Simple Starter
Change it to something like: # My Awesome Metalsmith Site
Save the file and check your browser. The page should automatically refresh, showing your new title. That's the development server at work - it watches for changes and rebuilds your site instantly.
What's Happening Behind the Scenes?
While you're happily editing content, Metalsmith is doing quite a bit of work. It:
- reads your Markdown files from the src directory
- processes the Markdown and converts it to HTML
- applies your layouts (templates) from the lib/layouts directory
- handles things like permalinks and navigation
- outputs the final HTML files to a build directory
We'll explore this process in more detail in the following posts, but for now, enjoy the simplicity of the editing experience.
Running a Production Build
When you're ready to deploy your site, you'll want to create an optimized production build. Stop the development server by pressing Ctrl+C in your terminal, then run:
npm run build
This creates a production-ready version of your site in the build directory, with optimized HTML and proper sitemap generation. If you like to see your production site run:
npm run serve
You'll see something like this:
[Browsersync] Proxying: http://localhost:3002
[Browsersync] Access URLs:
--------------------------------------
      Local: http://localhost:3002
    External: http://192.168.1.130:3002
--------------------------------------
          UI: http://localhost:3003
UI External: http://192.168.1.130:3003
--------------------------------------
[Browsersync] Serving files from: build
If you are using VSCode and are using the built-in terminal you can just CMD-Click on the local URL and the site will open in your browser, If you are using a regular terminal just copy the url and paste it into the browser.
What's Next?
Congratulations! You've successfully set up and run your first Metalsmith project. In the next post, we'll explore the site structure in more detail and learn how content is organized in a Metalsmith project.
For now, feel free to explore the starter site. Try creating a new blog post or modifying the About page. The more you play with it, the more comfortable you'll become with how Metalsmith works. Remember, the development server we set up will automatically rebuild your site whenever you make changes, so you can immediately see the results in your browser. This makes the development process smooth and intuitive.
Have questions or running into issues? Join the Metalsmith community on Gitter where friendly developers are always willing to help. In the next post, we'll take a closer look at the site structure and organization. See you then!
Any comments? Find me on Bluesky.